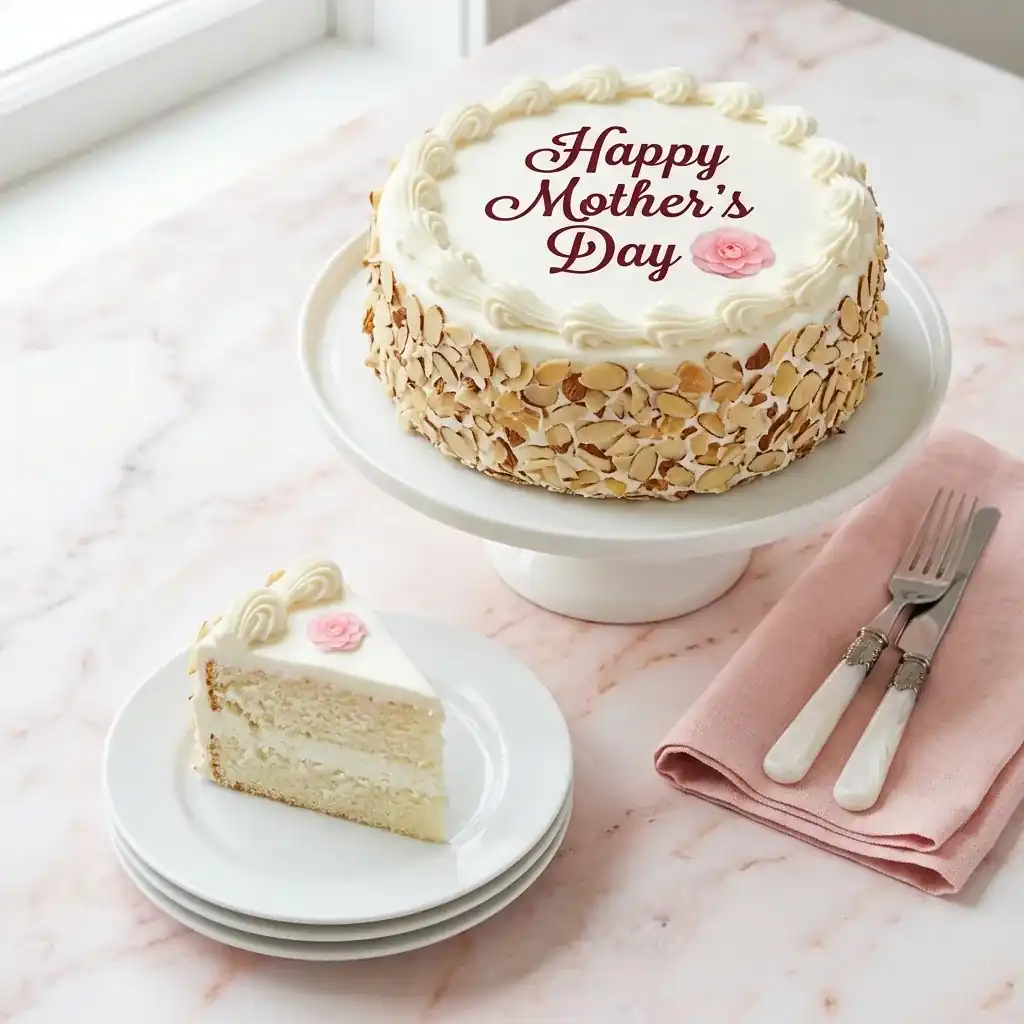
A Celebration in Every Slice |
The quest for the perfect Mother’s Day tribute often leads to the kitchen, where the scent of vanilla and toasted sugar fills the air. This specific recipe was born from a desire to create something that felt like a warm hug, combining the nostalgic sweetness of a childhood treat with the sophisticated elegance a mother deserves.
What truly elevates this experience is the daring contrast between the cloud-like softness of the sponge and the slight, crystalline crunch of a delicate sugar-pearl garnish. Have you ever wondered why some cakes feel like a memory while others just feel like dessert? This one aims to be the former, blending airy textures with rich, velvety cream.
- ●The sponge is impossibly light, ensuring it doesn’t feel too heavy after a big brunch.
- ●Customizable flavor profiles allow you to tailor the cake to her specific cravings.
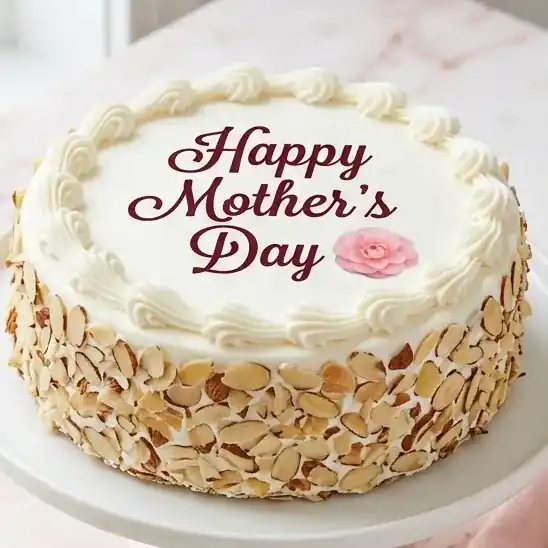
- ●The visual appeal is stunning, making it a centerpiece that rivals professional bakeries.
- ●Simple techniques are used, so you can focus on the celebration rather than the stress.
- ●It balances sweetness perfectly, avoiding the cloying feel of store-bought alternatives.
Essential Ingredients |
Unsalted Butter provides a rich, creamy foundation with a golden hue and a salty undertone; use 1 cup softened to room temperature.
Granulated Sugar adds a sparkling sweetness and helps create that classic airy structure; measure out 2 cups for the perfect lift.
Large Eggs bring a velvety richness and a subtle golden glow to the crumb; you will need 4, brought to room temperature.
Cake Flour offers a finer, softer texture compared to all-purpose flour, ensuring a delicate bite; 3 cups are required.
Whole Milk contributes a moist, tender consistency and a clean, milky aroma; use 1 cup for a smooth batter.
Pure Vanilla Extract delivers that timeless, comforting fragrance and a deep aromatic warmth; 2 teaspoons provide the ideal balance.
Baking Powder creates the essential bubbles that make the cake rise with pride; use 2.5 teaspoons for a fluffy result.
 Let’s Make it Together |
- First thing, go ahead and preheat your oven to 350°F (175°C) and grease your pans so nothing sticks later on.
- Grab your butter and sugar and cream them together until the mixture looks pale and fluffy, almost like a cloud.
- Now, crack in your eggs one by one, beating them in thoroughly after each addition to keep the batter smooth.
- Whisk your dry ingredients together in a separate bowl, then slowly fold them into the wet mix, alternating with the milk.
- Pour the batter evenly into your pans and smooth the tops with a spatula before sliding them into the oven for about 30 minutes.
- Let the cakes cool completely in the pan for ten minutes before flipping them onto a wire rack to chill fully.
- Whip up your buttercream frosting and spread it generously between the layers and all over the outside for a clean finish.
- Finish it off with fresh berries or edible flowers to give it that final, professional celebratory touch.
Always ensure your eggs and butter are truly at room temperature to prevent the batter from curdling.
Avoid over-mixing the flour, as this can lead to a tough, bread-like texture instead of a tender crumb.
Use a toothpick to check for doneness; it should come out clean or with just a few moist crumbs.
Cooling the cake entirely before frosting is non-negotiable, otherwise, your buttercream will melt instantly.
Sifting the cake flour is the secret to avoiding lumps and achieving a professional, airy lightness.
Perfecting the Cooking Process |
Temperature control is the silent hero of this recipe. If your oven runs hot, consider rotating the pans halfway through the baking time to ensure an even golden brown finish across all sides. Timing is equally critical; start checking for doneness five minutes before the timer goes off to avoid over-drying the sponge.
The technique of “folding” rather than “beating” the flour into the batter is where the magic happens. By using a gentle hand and a silicone spatula, you preserve the air bubbles created during the creaming stage. This ensures the cake remains light and springy rather than dense and heavy.
Add Your Touch |
Why stick to one flavor when the world is full of possibilities? For a zesty twist, fold in lemon zest and replace the vanilla with lemon extract for a bright, citrusy spring vibe. If she prefers something richer, swap the milk for heavy cream and add a swirl of raspberry jam between the layers for a tart contrast.
Dietary adaptations are easy: try using a gluten-free 1:1 baking flour blend for a similar texture. For a seasonal autumn update, add a pinch of cinnamon and top with caramelized apples. You could also experiment with a matcha-infused sponge for a modern, earthy flavor profile that pairs beautifully with fresh strawberries.
Storing & Reheating |
Store your masterpiece in an airtight container in the refrigerator to keep the buttercream stable and the sponge moist. This will typically keep the cake fresh and delicious for up to four to five days.
To enjoy a slice at its best, let it sit at room temperature for about 30 minutes before serving. This allows the butter in the sponge and frosting to soften, restoring the original velvety texture and enhancing the flavor.
1Weigh your ingredients with a digital scale for absolute precision and consistent results every time.
2Rub a tiny bit of oil on your fingertips when smoothing the buttercream for a flawless, streak-free finish.
3Use a cake strip around your pans to prevent the dreaded “dome” and get perfectly flat layers.
4Add a pinch of salt to the batter to enhance the vanilla and cut through the sweetness of the sugar.
5Freeze your cake layers for an hour before frosting to make the process much easier and cleaner.
FAQ |
- ●Q: Can I make this cake a day in advance?
A: Yes, this cake actually benefits from being made a day early. Once frosted, the flavors meld together and the structure stabilizes, making it easier to slice neatly. Just keep it refrigerated and bring it to room temperature before serving. - ●Q: What is the best way to decorate the cake for a floral look?
A: Use a piping bag with a small round tip to create tiny dots of frosting, then place fresh, organic edible flowers or berries on top. Ensure the flowers are food-safe and pesticide-free to keep the dessert safe for consumption. - ●Q: My cake came out too dense; what happened?
A: This usually happens if the batter was over-mixed or if the eggs were too cold. Over-mixing develops too much gluten, which tightens the crumb. Be sure to fold the flour in gently and use room-temperature ingredients. - ●Q: Can I substitute the cake flour with all-purpose flour?
A: You can, but the texture will be slightly denser. To mimic cake flour, measure one cup of all-purpose flour, remove two tablespoons of flour, and replace them with two tablespoons of cornstarch, then sift the mixture together several times.
The Ultimate Happy Mother’s Day Cake: A Floral Celebration
- Total Time: 1 hour
- Yield: 12 servings 1x
Description
A light and airy vanilla celebration cake topped with creamy buttercream, designed specifically for Mother’s Day festivities.
Ingredients
- 1 cup unsalted butter, softened
- 2 cups granulated sugar
- 4 large eggs, room temperature
- 3 cups cake flour
- 1 cup whole milk
- 2 tsp pure vanilla extract
- 2.5 tsp baking powder
- Pinch of salt
Instructions
- Preheat oven to 350°F (175°C) and grease two 8-inch cake pans.
- Cream butter and sugar together until pale and fluffy.
- Beat in eggs one at a time.
- Whisk together cake flour, baking powder, and salt.
- Alternately add dry ingredients and milk to the butter mixture, starting and ending with flour.
- Divide batter into pans and bake for 30 minutes.
- Cool cakes completely on a wire rack.
- Frost with buttercream and decorate with fresh flowers or berries.
- Prep Time: 30 minutes
- Cook Time: 30 minutes
- Category: Dessert
- Method: Baking
- Cuisine: American